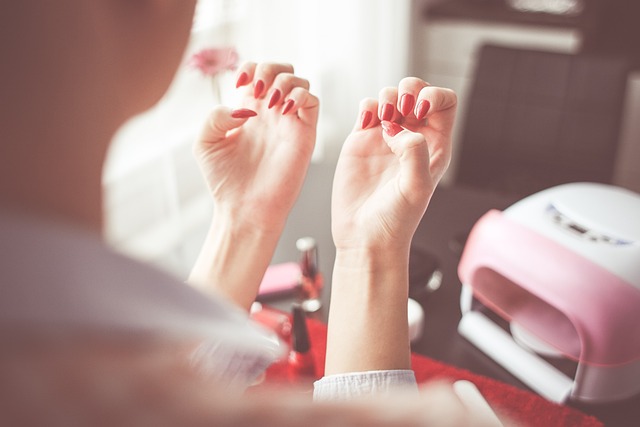
Nail care is an essential component of personal grooming, and achieving the ideal nail shape can substantially impact the overall appearance of your hands. While a nail file is commonly used to shape nails, a nail buffer is an often-overlooked tool that can help you achieve flawless nail contours. This article will explore the art of shaping your nails and providing tips for perfect nail contours.
1. Gather Your Supplies:
- Nail buffer
- Nail clippers or scissors (if needed)
- Warm water and mild soap
- Towel
- Cuticle pusher or orange stick
- Nail polish (optional)
2. Begin with Clean Nails:
Start by ensuring your nails are neat and free from old nail polish or debris. Soak your nails in warm, soapy water for a few minutes to soften them and make the shaping process more comfortable.
3. Trim and Shape:
If your nails are excessively long, trim them to your desired length using nail clippers or scissors. Next, use a nail file to shape the edges and remove rough or uneven areas. Be sure to file in one direction to prevent splitting or damage.
4. Choose the Right Buffer Side:
Select the appropriate side of the buffer to start with. Begin with the coarser side (usually labelled “1”) to smooth out any ridges, bumps, or uneven surfaces on your nails. Gently buff the nail’s surface in a back-and-forth motion, following the natural curve of your nail. Avoid excessive pressure; let the buffer do the work.
5. Smooth with Finer Sides:
After using the coarse side, move on to the finer sides (labelled “2,” “3,” and “4”). Each subsequent side is smoother and polishes the nail further. Buff your nails with each side, always following the natural curve and contour. Take your time to ensure a uniform and polished finish.
6. Be Gentle Around the Cuticles:
When shaping your nails with a buffer, be extra gentle around the cuticle area to avoid damaging the delicate skin. You can employ either a cuticle pusher or an orange stick to gently push back your cuticles before proceeding with the buffing process.
7. Rinse and Dry:
Once you are satisfied with the shape and smoothness of your nails, rinse them with clean water to remove any nail dust or residue from the buffing process. Dab your hands and nails dry using a clean towel.
8. Apply Nail Polish (Optional):
If you prefer to apply nail polish, now is the time to do so. The smooth surface created by the buffer will allow for a more even and long-lasting application of nail polish. Remember to use a base coat, two coats of polish, and a topcoat for a polished and protective finish.
9. Maintain Your Nails:
Regular maintenance is vital to keeping your nails in perfect shape. Use the buffer to maintain smooth contours and prevent ridges from forming. Be cautious not to over-buff, as this can thin the nails over time.
10. Hydrate and Protect:
To maintain healthy nails, regularly use cuticle oil or a moisturising hand cream to keep your nails and surrounding skin hydrated. Additionally, protect your nails by wearing gloves during tasks that may expose them to chemicals or excessive moisture.
Conclusion
Achieving perfect nail contours with a buffer is a straightforward process that can elevate the overall appearance of your hands. By following these tips and correctly using a nail buffer, you can enjoy well-shaped, smooth, and polished nails that enhance your grooming routine. Remember that nail care is an ongoing practice, so maintain your nails to keep them looking their best. Whether you prefer natural nails or enjoy adding a pop of colour with nail polish, a well-shaped nail provides the perfect canvas for your style.

0 Comments